Workshop Guide: Painting A Motorcycle, Part II
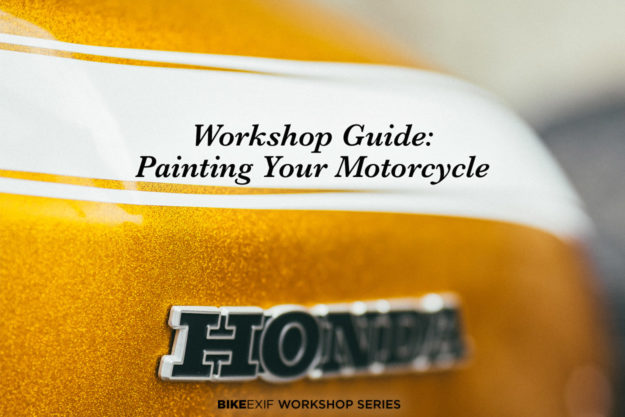
Ready to tackle your first motorcycle paint project" In Part One of this guide, we outlined the first three steps: theory, planning and the all-important prepping procedures, ending with a final coat of smooth spray putty.
This week, we’re laying down the paint itself, using aerosol cans. So grab those tins and let’s get cracking.
Step 4: Painting Let’s get into the spraying technique in detail. This will apply to primer, spray putty, paint and pretty much any other aerosol product. We’re picking up from where we left off last time, with a smooth coat of spray putty, and will finish with the classic Stars and Stripes design shown below.
Your objective is to apply a consistent thickness of product over the surface. On a high-end spray rig, you can set the air pressure and fluid flow to achieve the ideal spray pattern. But with an aerosol, you don’t have this luxury?you have to work with whatever spray pattern comes out the can. What you can control is the angle of the can, how far away you hold it, and how fast you move it. These three factors combined will determine the paint coverage on the surface you’re painting.
To achieve consistency, the spray needs to be kept perpendicular to the surface, a constant distance away from it, and moved at a constant speed. If the can is too far away, or you’re moving too fast, the paint will disperse more and result in a thinner coat. Closer or too slow, and you’ll end up with a ...
| -------------------------------- |
|
|